The 5 Secrets for Photorealism (Quick Answer)
- Speak Photography’s Language: Use specific camera, lens, and film terms (e.g., “85mm portrait lens, shot on Kodak Portra 400”)
- Master Lighting Keywords: Add terms like “golden hour” or “Rembrandt lighting setup”
- Reference Render Engines: Use keywords like “Unreal Engine 5, ray tracing” for visual fidelity
- Use Negative Prompts: Tell the AI what to exclude (e.g., –no cartoon, 3D render)
- Choose the Right Tool: Select a generator optimized for realism, like DALL-E 3 or Leonardo.Ai
Pro Tip: My Favorite Lighting Prompt That Changed Everything
Here’s the exact prompt combination that transformed my AI image quality overnight:
“Golden hour window light, Rembrandt lighting setup, soft diffused illumination, natural skin texture”
I used to generate dozens of mediocre AI portraits until I discovered this specific lighting combination. The difference was dramatic—suddenly my images had professional depth, realistic shadows, and that expensive “editorial photography” look. This wasn’t luck. It was understanding exactly what separates amateur AI art from photorealistic results.
Why it works: Rembrandt lighting creates the signature triangle of light on the subject’s cheek, a technique mastered by portrait photographers for centuries. Combined with golden hour warmth, it produces images that look like they came from a professional studio shoot.
Why Technique Matters More Than Tool Selection
The difference between amateur AI art and stunning visual results isn’t luck—it’s technique. Most creators struggle to bridge the gap between “AI-looking” renders and true, believable photography. If you want to create photorealistic AI images that fool the human eye, you have to go beyond basic prompts and start thinking like a virtual photographer.
In this guide, we share 5 expert secrets used by professional AI artists to achieve the “reality test” every single time, regardless of which platform you prefer.
Secret 1: Speak the Language of Photography
To get a photograph, you must ask for a photograph. This sounds simple, but most users make the mistake of treating AI like an art generator instead of a virtual photographer. The secret is using precise photography terminology that tells the AI exactly what kind of camera setup you want.
Essential Photography Keywords
Camera Lenses and Their Effects:
- For Portraits: Use terms like 85mm portrait lens to get flattering compression and shallow depth of field for blurry backgrounds
- For Street/Environmental Shots: Use 35mm lens for a natural perspective that includes the surrounding environment
- For Product/Detail Shots: Use macro lens to capture extreme, crystal-clear detail that mimics professional product photography
- For Wildlife/Sports: Use 200mm telephoto lens to create a highly compressed, professional look that brings distant subjects forward
Shot Types That Create Professional Results:
- Close-up: Focuses on face or specific details
- Medium shot: Waist up, perfect for portraits
- Full body shot: Complete subject in frame
- Aerial view: Bird’s eye perspective
- Low angle: Camera positioned below subject
- Eye level: Natural, conversational perspective
Film Stock References for Authentic Look:
- Kodak Portra 400: Famous for warm, natural skin tones and professional-grade latitude.
- Fujifilm Velvia: Known for vibrant, high-contrast saturated colors.
- Kodak Tri-X: The industry standard for classic, gritty black and white grain.
- Polaroid instant: Perfect for a vintage, slightly faded, and nostalgic aesthetic.
Example Prompt Using Photography Language:
“Professional headshot, 85mm portrait lens, shallow depth of field, shot on Kodak Portra 400 film, natural skin tones, medium format camera”
This approach immediately signals to the AI that you want photographic realism, not artistic interpretation. For more foundational techniques on structuring your prompts, learning how to write effective AI art prompts will give you a comprehensive framework.
Secret 2: Master Cinematic and Natural Lighting
Lighting is the single most important factor that separates amateur AI images from professional-quality results. Real photographers spend years mastering light—and you can leverage their expertise by using the right lighting keywords in your prompts.
Natural Lighting Keywords
Golden Hour Magic:
- “Golden hour lighting” – Warm, soft light during sunrise/sunset
- “Magic hour” – The period just after sunset with even, diffused light
- “Soft morning light” – Gentle, directional light from early sun
- “Overcast lighting” – Even, shadow-free illumination
Window Light Techniques:
- “Soft window light” – Diffused light from a large window
- “North-facing window” – Consistent, even lighting
- “Backlighting from window” – Dramatic rim lighting effect
- “Window light portrait” – Classic portrait lighting setup
Cinematic Lighting Effects
Professional Studio Setups:
- “Three-point lighting” – Standard professional setup
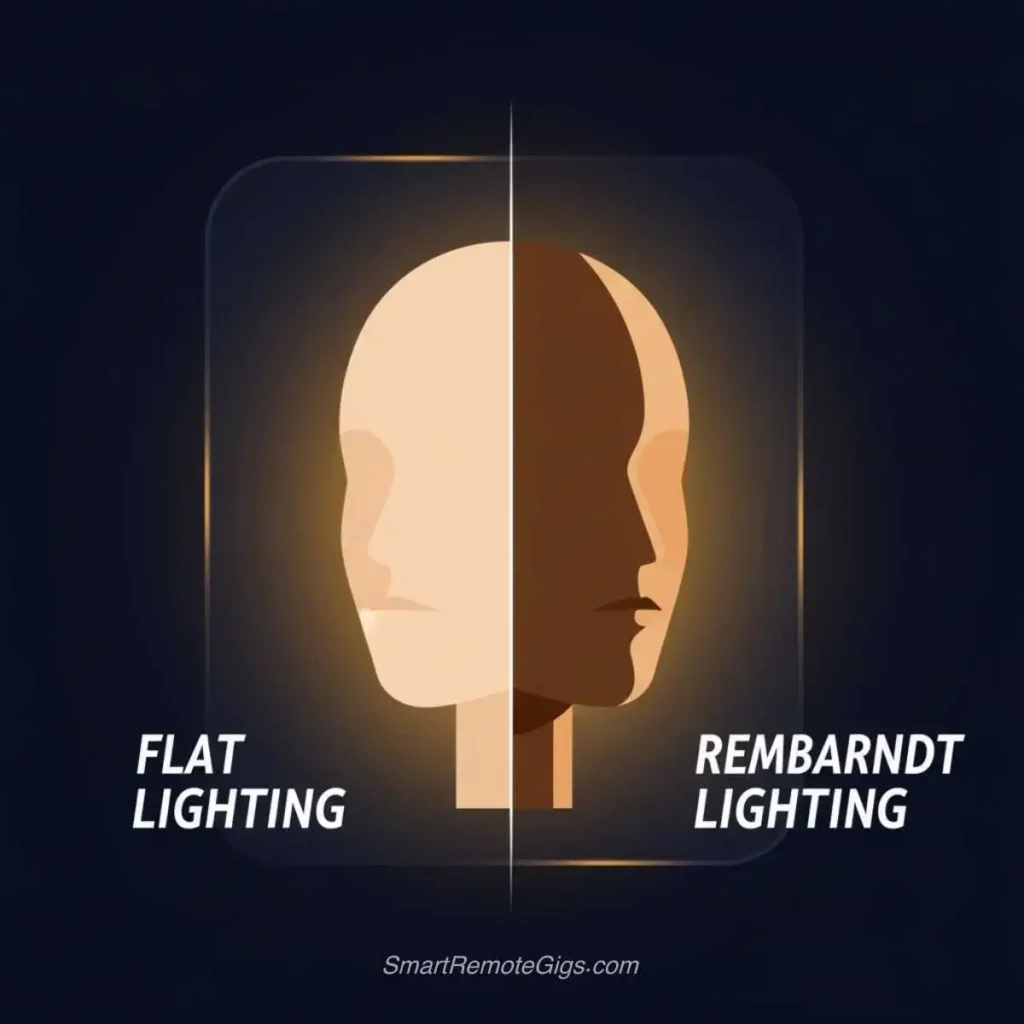
- “Rembrandt lighting” – Classic portrait lighting with triangular cheek highlight
- “Split lighting” – Half the face in light, half in shadow
- “Butterfly lighting” – Light directly above and in front of subject
Dramatic Cinematic Effects:
- “Volumetric lighting” – Visible light beams through atmosphere
- “Rim lighting” – Light outlining the subject’s edges
- “Chiaroscuro lighting” – Strong contrast between light and dark
- “Cinematic lighting” – Movie-quality dramatic illumination
Artificial Light Sources:
- “Neon lighting” – Colorful artificial glow
- “LED strip lighting” – Modern, clean artificial light
- “Candlelight” – Warm, flickering illumination
- “Studio strobe lighting” – Professional flash photography
Lighting Comparison Example
Basic Prompt: “Portrait of a woman”
Enhanced with Lighting: “Portrait of a woman, golden hour lighting, soft window light, Rembrandt lighting setup, warm natural tones”
The enhanced version creates depth, mood, and professional quality that transforms a generic image into something compelling and realistic.
Secret 3: Reference High-End Render Engines
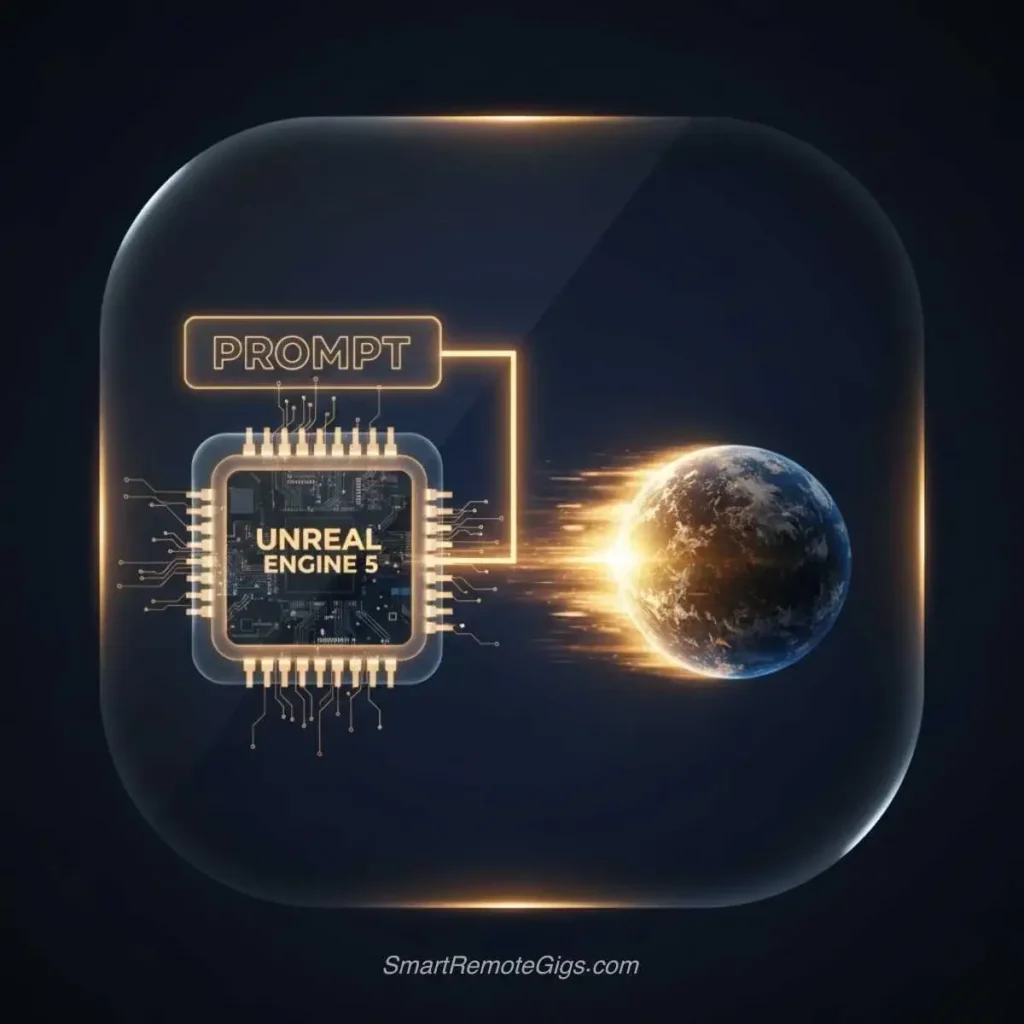
This is the “secret sauce” that separates amateur AI users from professionals. By referencing advanced 3D rendering technologies, you trick the AI into producing the same level of visual fidelity that film studios and game developers achieve.
Powerful Rendering Keywords
Industry-Standard Engines:
- Unreal Engine 5: Cutting-edge real-time rendering (Epic Games’ latest engine)
- Octane Render: Known for photorealistic materials and lighting
- V-Ray: Professional architectural and product rendering
- Arnold Renderer: Used in major Hollywood films
- Cycles: Blender’s advanced rendering engine
Technical Rendering Terms:
- Ray tracing: Realistic light behavior and reflections—critical detail: When you include “ray tracing” in your prompt, you’re forcing the AI to calculate actual light bounces and reflections rather than just painting “bright spots” on surfaces. This creates physically accurate highlights, shadows, and reflections that match real-world physics.
- Global illumination: Accurate light bouncing between surfaces
- Physically-based rendering (PBR): Materials that behave like real-world counterparts
- Subsurface scattering: Realistic skin and translucent materials
- Ambient occlusion: Subtle shadows that add depth and realism
Material and Surface Keywords:
- Photorealistic materials: Ensures surfaces look authentic
- High-resolution textures: Creates fine detail and clarity
- Realistic skin shader: For lifelike human portraits
- Metallic surfaces: For jewelry, cars, and tech products
- Fabric simulation: For realistic clothing and textiles
Example Using Render Engine References
Before: “Portrait of a businessman in a suit”
After: “Portrait of a businessman in a suit, Unreal Engine 5, ray tracing, physically-based rendering, photorealistic materials, global illumination”
The technical references push the AI to match the visual standards of professional 3D rendering, resulting in images with superior lighting, materials, and overall realism.
Secret 4: Use Negative Prompts to Remove the “AI Look”
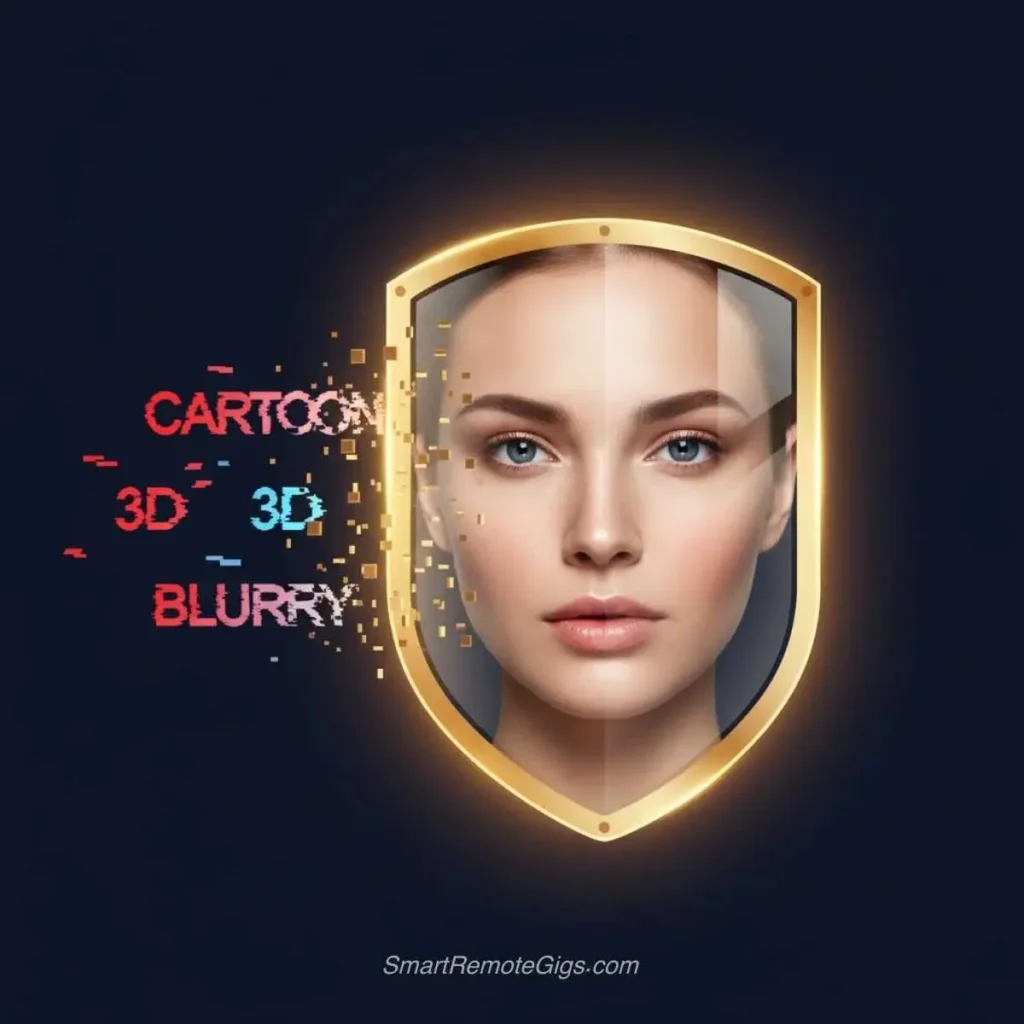
Even with perfect positive prompts, AI images often have telltale signs that immediately identify them as artificial. Negative prompts are your secret weapon for eliminating these “AI tells” and achieving true photorealism.
Common AI Art Problems to Avoid
Generic AI Aesthetics:
--no 3D render, CGI, digital art, painting--no cartoon, anime, illustration, artwork--no artificial, synthetic, computer generated--no smooth skin, plastic skin, doll-like
Technical Quality Issues:
--no blurry, low quality, pixelated, compressed--no noise, grain, artifacts, distortion--no oversaturated, overexposed, underexposed--no soft focus, out of focus, motion blur
Anatomical Problems:
--no deformed hands, extra fingers, missing fingers--no asymmetrical eyes, crossed eyes, blank stare--no distorted proportions, unnatural pose--no floating limbs, disconnected body parts
Unwanted Elements:
--no watermark, signature, text, logo--no frame, border, multiple views--no split screen, collage, montage
Platform-Specific Negative Prompt Syntax
Different AI generators use different syntax for negative prompts:
Midjourney: Use --no parameter
- Example:
--no cartoon, painting, 3D render, smooth skin
DALL-E 3: Include “without” or “avoid” in your prompt
- Example: “Professional portrait without cartoon elements or artificial smoothing”
- Important: DALL-E 3’s natural language processing makes negative prompts less effective as parameters. Instead, weave exclusions into your main descriptive sentence for better results: “photorealistic portrait in natural style, avoiding any CGI effects or cartoonish filters”
Stable Diffusion: Use negative prompt field or --neg
- Example:
--neg blurry, low quality, cartoon, 3D render
Complete Example with Negative Prompts
Full Prompt:
“Professional headshot of CEO, 85mm portrait lens, golden hour lighting, shot on medium format camera, natural skin texture, high resolution –no cartoon, 3D render, smooth skin, artificial, oversaturated, blurry”
This combination ensures you get photographic realism while avoiding common AI pitfalls.
Pro Tip: Use Inpainting to Fix Those AI Hands
Even with perfect prompts, AI-generated hands can still be problematic. Here’s your secret weapon: inpainting.
How it works:
1. Generate your image with all the techniques above
2. If hands are distorted, use your tool’s inpainting feature (available in DALL-E, Leonardo.Ai, and Stable Diffusion)
3. Select only the hand area
4. Re-prompt with specific hand description: “natural human hand, five fingers, realistic skin texture, natural pose”
5. The AI regenerates only that area while preserving the rest
Why this works: Inpainting allows surgical fixes without regenerating the entire image. It’s particularly effective for hands because you’re giving the AI a focused task instead of asking it to manage an entire scene’s anatomy.
For persistent hand issues, understanding why AI struggles with hands and advanced fixing techniques will give you a complete toolkit.
Warning: Don’t Over-Weight Your Prompts in 2026 Models
A common mistake that can break modern AI models like Midjourney v7, DALL-E 3, and Stable Diffusion XL is over-weighting keywords with excessive parentheses or brackets:
❌ WRONG (This breaks 2026 models):((((photorealistic)))), (((ultra detailed))), ((professional photography))
Why this fails: Modern diffusion models are already extremely good at understanding natural language. Over-weighting creates:
Distorted, unnatural results
Confused model behavior
Quality degradation instead of improvement
“Overcooked” images with artificial artifacts
✅ CORRECT (Natural language works better):photorealistic, ultra detailed, professional photography quality
The Rule: Use clear, descriptive language once. Trust the model’s training. If you’re not getting the results you want, adjust your description, not the emphasis.
Exception: In Stable Diffusion web interfaces, mild weighting (keyword:1.2) can still be useful, but never exceed 1.3 and use sparingly.
Putting It All Together: The Perfect Prompt
The most photorealistic results come from combining these first four secrets into a single, powerful command:
“Professional corporate headshot of confident businesswoman, 85mm portrait lens, golden hour window lighting, shot on Kodak Portra 400, Unreal Engine 5 rendering quality, natural skin texture, high resolution –no cartoon, 3D render, smooth skin, artificial, oversaturated”
Secret 5: Choose the Right AI Tool for Realism
Not all AI generators are created equal when it comes to photorealism. Some excel at artistic styles, while others are specifically designed for photographic quality. Choosing the right tool is crucial for achieving professional results.
Top Tools for Photorealistic Results
DALL-E 3 (via Microsoft Designer)
- Strengths: Exceptional at understanding natural language, produces consistently photorealistic results
- Best for: Professional portraits, business photography, lifestyle shots
- Why it works: Advanced training specifically optimized for photographic realism
- Access: Free through Microsoft Designer
Leonardo.Ai with Photorealistic Models
- Strengths: Access to specialized photorealistic community models
- Best for: Fashion photography, product shots, artistic portraits with photographic quality
- Why it works: Multiple model options specifically trained for realism
- Notable models: “Absolute Reality,” “DreamShaper,” “Realistic Vision”
Stable Diffusion with Realistic Checkpoints
- Strengths: Highly customizable with specific photorealistic models
- Best for: Users who want maximum control over the generation process
- Why it works: Open-source nature allows for specialized training
- Popular models: “Realistic Vision,” “ChilloutMix,” “Deliberate”
When comparing the two industry leaders, understanding the technical gap in how DALL-E 3 handles literal realism vs Midjourney’s artistic interpretation helps you choose the right platform for your specific needs—DALL-E 3 excels at photographic accuracy while Midjourney adds creative flair.
In our definitive guide covering the 12 best free AI image generators, we specifically tested and ranked the top platforms for their photorealistic capabilities, with DALL-E 3 and specialized Leonardo.Ai models delivering the most consistent, high-quality results.
Tool-Specific Optimization Tips
For DALL-E 3:
- Use natural, conversational language
- Focus on lighting and camera terminology
- Keep prompts detailed but not overly technical
For Leonardo.Ai:
- Experiment with different photorealistic models
- Use the “Photo Real” preset when available
- Take advantage of the guidance scale for fine-tuning
For Stable Diffusion:
- Use weighted emphasis on photorealistic keywords (moderately)
- Experiment with different sampling methods
- Fine-tune CFG scale for optimal results
Quality Comparison Framework
When testing different tools, evaluate results based on:
- Skin texture realism – Natural pores, imperfections, and texture
- Eye detail – Realistic iris patterns, natural reflections
- Lighting accuracy – Believable shadows and highlights
- Material authenticity – Fabric, metal, and surface textures
- Overall composition – Professional photography standards
THE VERDICT: Best Tool for Photorealism in 2026
After extensive testing with identical prompts across all major platforms, here’s the definitive ranking:
1st Place: DALL-E 3 (via Microsoft Designer)
Why it wins: Unmatched natural language understanding + consistent photographic quality
Best for: Professional portraits, business photography, client work requiring reliability
Photorealism score: 9.5/10
2nd Place: Leonardo.Ai with “Absolute Reality” model
Why it’s close: Specialized photorealistic models + fine-tuning controls
Best for: Fashion photography, artistic portraits with photographic base
Photorealism score: 9/10
3rd Place: Stable Diffusion with “Realistic Vision” checkpoint
Why it ranks: Maximum control + open-source flexibility
Best for: Advanced users who need complete customization
Photorealism score: 8.5/10
The Bottom Line: For most users seeking consistent photorealistic results without technical complexity, DALL-E 3 is the clear winner. Power users willing to invest time in learning should explore Leonardo.Ai’s model ecosystem.
Professional Workflow Integration
Many designers are now combining AI image generation with a broader suite of essential AI tools for remote work to streamline their entire workflow—generating hero images with AI, then refining layouts and collaborating with clients in a unified remote ecosystem.
This hybrid workflow is becoming the industry standard for content creators, marketers, and freelance designers in 2026.
Your Path to Photorealistic AI Images
Creating truly photorealistic AI images isn’t about luck—it’s about applying proven techniques that professional AI artists use every day. By implementing these five secrets, you’ll consistently generate images that rival professional photography:
- Speak photography’s language with precise camera and lens terminology
- Master lighting keywords to create depth and professional quality
- Reference render engines to achieve film-studio visual fidelity
- Use negative prompts to eliminate telltale AI artifacts
- Choose the right tool optimized for photorealistic results
The key to success is combining these techniques rather than using them in isolation.
Your Iterative Improvement Process:
- Start with a basic photographic prompt
- Add specific lighting keywords
- Include render engine references
- Apply negative prompts to remove AI tells
- Test across multiple AI tools for best results
- Refine based on output quality
Remember that even professional photographers and AI artists iterate on their work. Don’t expect perfect results on your first attempt—use these techniques as a foundation and refine your approach based on the results you achieve.
To truly master this, expand your vocabulary. Studying professional techniques like the exposure triangle and composition rules will fundamentally improve your ability to command the AI.
Ready to start creating photorealistic AI images? Choose your favorite technique from this guide and test it today. The difference will be immediately visible.
What’s your biggest challenge with AI image realism? Share in the comments below!