You opened Notion with the best intentions.
Two hours later, you’ve chosen three different color schemes, renamed your workspace four times, and built an elaborate database you’ll never actually use.
Notion Paralysis is real. The tool is so flexible that most people spend more time tweaking colors than doing actual work.
This guide fixes that. We aren’t building a spaceship. We are building a functional Notion Project Management Dashboard that takes 20 minutes to set up and actually works for managing real projects.
Pro Tip: Don’t want to build it from scratch? Skip to the Free Template section at the bottom. Duplicate it into your workspace and you’re done in 30 seconds.
Let’s build.
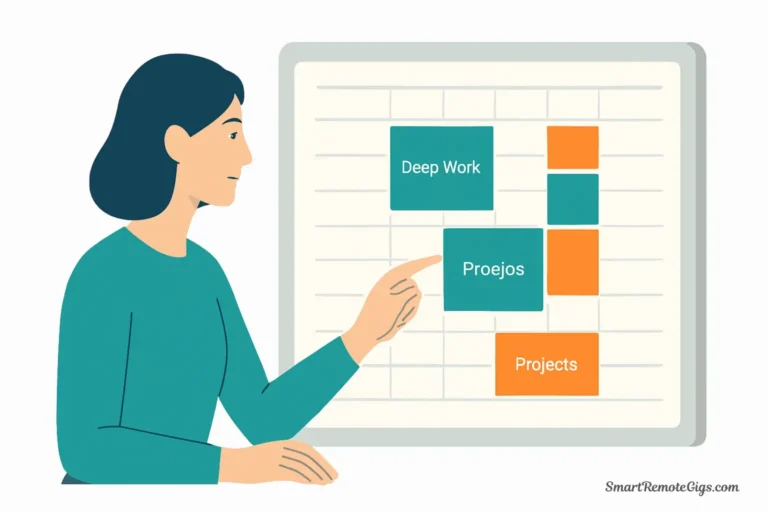
🏗️ The Logic: Projects vs. Tasks
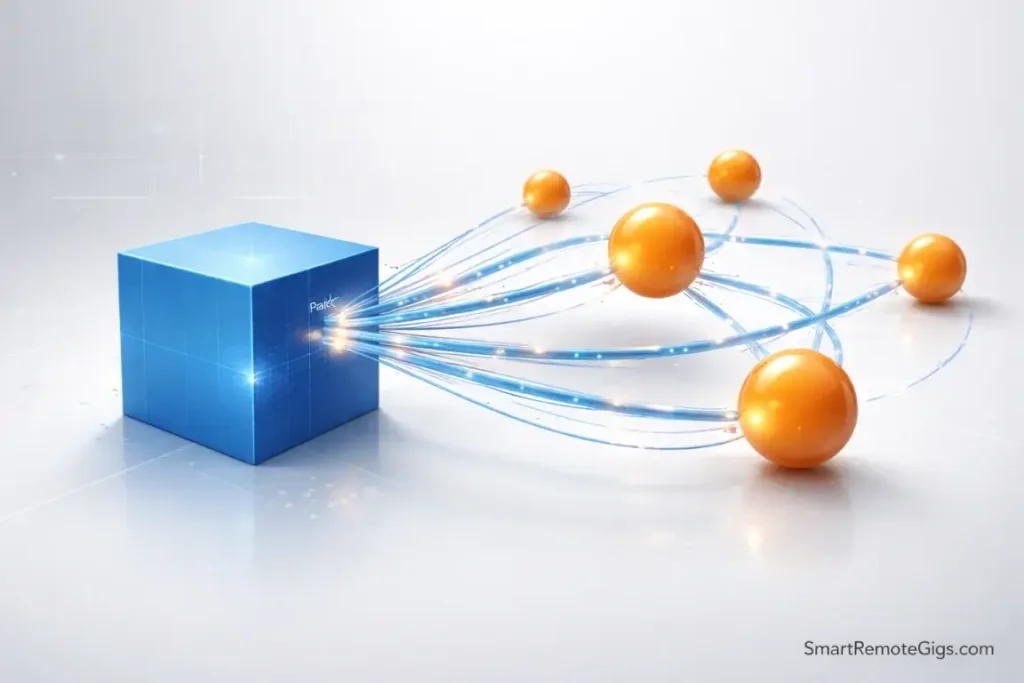
Most people fail because they mix everything together. We use a Relational System:
Database A: Projects 📁 | Database B: Tasks ✅ |
|---|---|
The “Big Goal” (e.g., Launch Website) | The “Action Steps” (e.g., Buy Domain) |
Has a Deadline and Budget. | Has a Due Date and Assignee. |
Calculates Progress automatically based on completed tasks. | Links to a Project so nothing gets lost. |
Before You Build: The Philosophy
Most Notion tutorials fail because they build for a perfect hypothetical user.
This system is built for real people with real chaos.
The rules we follow:
- Two databases. No more. Every extra database is a maintenance burden.
- Everything links to a project. Floating tasks are how things fall through cracks.
- Automate progress tracking. You should never manually update a progress bar.
- Default views do the heavy lifting. Open Notion and see only what matters today.
Sound good? Let’s build.
Step 1: Create the Projects Database
Create a New Page
Open Notion. Create a new page called “🗂️ Dashboard” at the top level of your workspace.
Inside this page, type /database and select “Database – Inline”.
Name it: “📁 Projects”
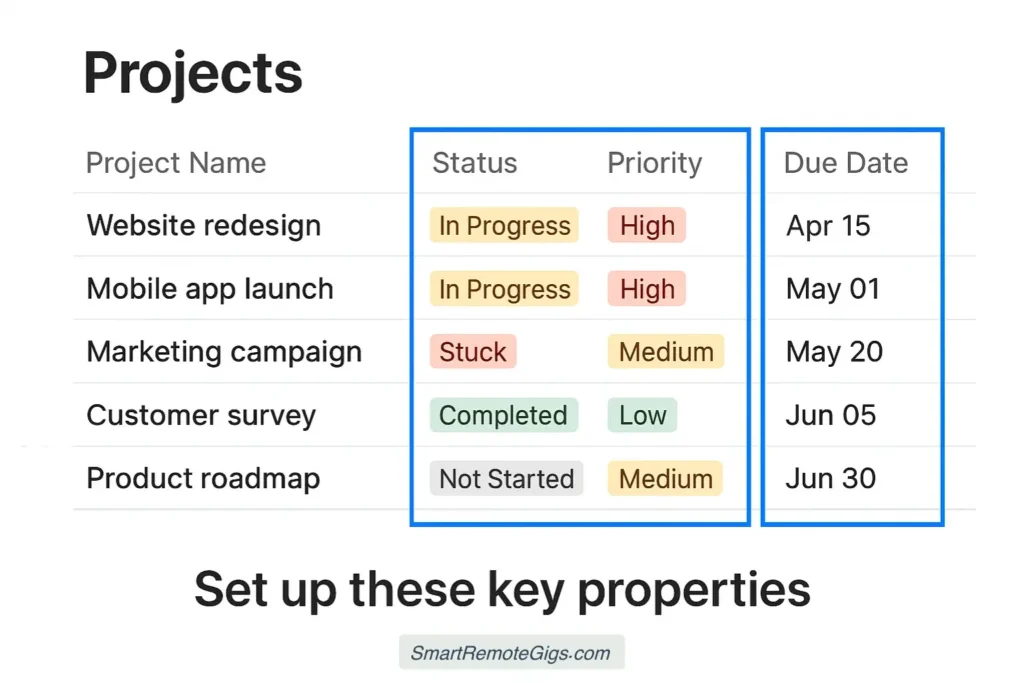
Add These Properties
Delete any default properties except Title. Then add:
Status (type: Status)
Use Notion’s native Status property—not a regular Select. The native Status property unlocks built-in analytics and the Kanban view automatically.
Set the options to:
Not Started(gray)In Progress(blue)Review(yellow)Done(green)On Hold(red)
Deadline (type: Date)
Turn on “End Date” in the date settings. This lets you set project date ranges.
Priority (type: Select)
Options:
- 🔴 High
- 🟡 Medium
- 🟢 Low
Budget (type: Number)
Format as “Dollar” for instant currency display.
Progress (type: Formula—we’ll build this in Step 3)
Owner (type: Person)
Assign who’s responsible for each project.
Add Your First Projects
Enter 2-3 real projects you’re working on right now. Even fake data makes building the rest of the system more tangible.
Example entries:
- “Launch Website”
- “Q1 Marketing Campaign”
- “Hire Content Writer”
Time for Step 1: 5 minutes
Step 2: Create the Tasks Database
Add a New Database
Below your Projects database (still inside your Dashboard page), type /database again and select “Database – Inline”.
Name it: “✅ Tasks”
Add These Properties
Status (type: Status)
Options:
To Do(gray)In Progress(blue)Done(green)Blocked(red)
Due Date (type: Date)
Single date only (no range needed for tasks).
Priority (type: Select)
Same as Projects: 🔴 High / 🟡 Medium / 🟢 Low
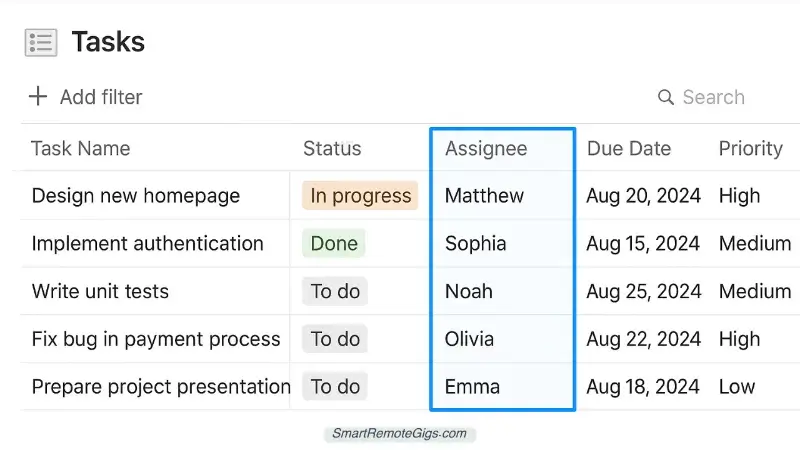
Assignee (type: Person)
Who’s doing this specific task.
Project (type: Relation—we’ll build this in Step 3)
Leave this for now. We’ll create the relation after both databases exist.
Effort (type: Select)
This is optional but useful:
- ⚡ Quick (under 30 min)
- 🕐 Medium (30 min – 2 hours)
- 🏔️ Large (half day or more)
Set Up Default Task Properties
Before moving on, set a default for new tasks:
- Click the
...menu on the Tasks database - Select “Default properties”
- Set Status to “To Do” by default
- Set Assignee to “Me” by default
Now every new task starts correctly without manual input.
Not sure how to categorize your tasks? Use the P.A.R.A. Method to keep your Areas and Projects distinct before populating this database.
Time for Step 2: 5 minutes
Step 3: The Magic — Creating the Relation
This is where the system becomes powerful.
Link Tasks to Projects
- Go to your Tasks database
- Click “+” to add a new property
- Select “Relation”
- In the dropdown, select your Projects database
- Name this property: “Project”
- Turn on “Show on Projects”—this creates a reverse relation automatically
- Name the reverse relation: “Tasks”
Now every task can be assigned to a project, and every project automatically shows its related tasks.
Test the Relation
Click on one of your tasks. You’ll see the “Project” field. Click it and assign the task to one of your projects.
Go back to your Projects database. Click on that project. Scroll down and you’ll see your task listed under “Tasks.”
It works. This is the foundation of the entire system.
Add the Progress Bar Formula
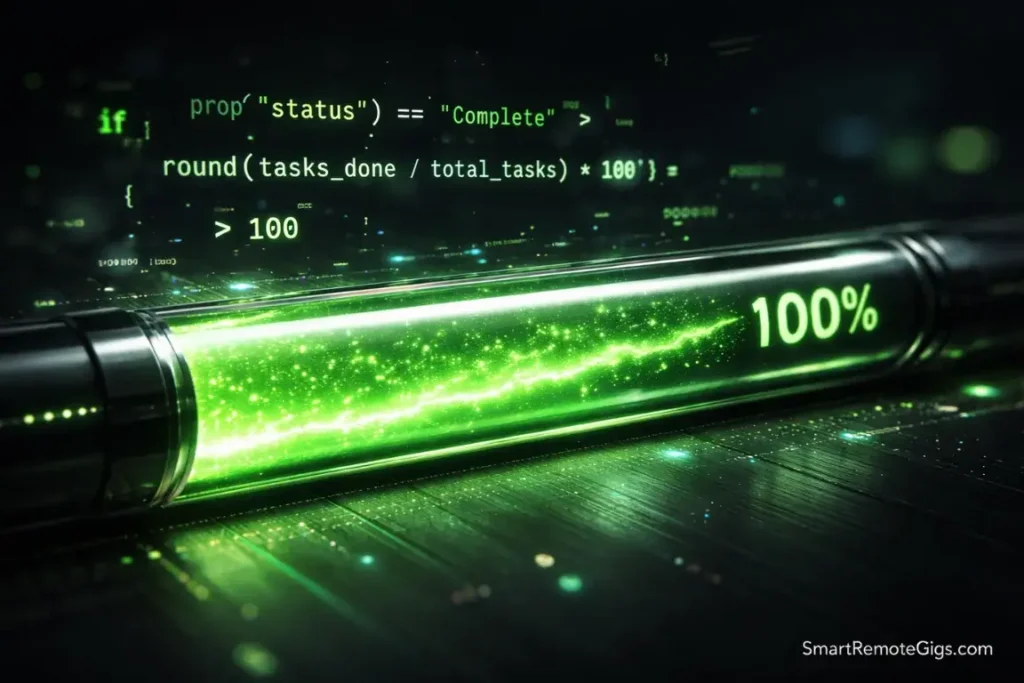
Now we build the automated progress tracker.
In your Projects database, click the “Progress” property you created earlier (or add a new Formula property).
Paste this formula:
if(
  empty(prop("Tasks")),
  0,
  divide(
    length(
      filter(
        prop("Tasks"),
        prop("Status") == "Done"
      )
    ),
    length(prop("Tasks"))
  )
)
What this does: Counts how many Tasks linked to this project have Status = “Done,” divides by total tasks, gives you a 0-1 decimal.
To display as a visual bar:
- Click on the Progress property in your database view
- Click “Edit property”
- Under “Number format,” select “Bar”
- Set range: Min = 0, Max = 1
Now your Projects database shows a visual progress bar that automatically updates every time you mark a task Done.
Pro Tip: The progress bar only works if your Tasks have a proper Status property using Notion’s native Status type. If you used a regular Select property, the formula won’t detect completion correctly.
Time for Step 3: 5 minutes
Step 4: Build the Dashboard Views
The databases work. Now let’s make them actually useful to look at every morning.
View 1: The “My Tasks Today” Filter
In your Tasks database:
- Click “Add a view” → Select “Table”
- Name it: “My Tasks”
- Click “Filter” → Add filter:
- Assignee → is → Me
- Status → is not → Done
- Click “Sort” → Add sort:
- Due Date → Ascending
- Priority → Ascending
This view shows only your incomplete tasks, sorted by what’s due soonest.
Open Notion every morning. This is the first thing you see.
View 2: The Active Projects Board
In your Projects database:
- Click “Add a view” → Select “Board”
- Name it: “Board”
- Group by: “Status”
- Add filter: Status is not “Done” and Status is not “On Hold”
This gives you a Kanban board showing only active projects.
View 3: The Weekly Calendar
In your Tasks database:
- Click “Add a view” → Select “Calendar”
- Name it: “Weekly”
- Set calendar date property to: “Due Date”
- Add filter: Assignee → is → Me
Now you see every task plotted on a calendar. Spots where too many tasks cluster become obvious.
View 4: The Project Deep Dive
For each project, you’ll want to see its tasks inline.
In your Projects database:
- Click “Add a view” → Select “Gallery”
- Name it: “Cards”
- Under Card Preview, select “Page Cover” or “None”
- Show properties: Status, Deadline, Progress, Priority
Click into any project card and you’ll see all linked tasks below the project’s content.
Time for Step 4: 5 minutes
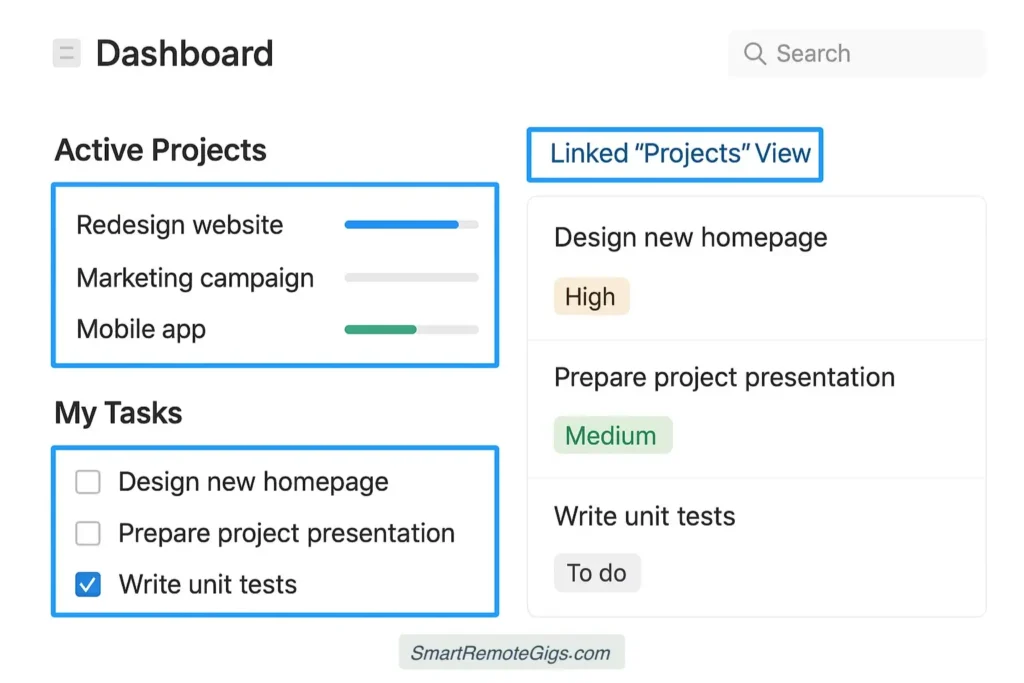
Step 5: The Master Dashboard Page
Now we wire everything together into one page.
Set Up Your Dashboard Layout
On your main Dashboard page, arrange it like this:
Top section: “Good morning. Here’s your day.”
Add a heading: Good Morning 👋
Below it, create a Linked Database view:
- Type
/linkedand select “Create linked database” - Select your Tasks database
- Apply the “My Tasks” view filter (Assignee = Me, Status ≠ Done)
- Resize to show 5-7 tasks maximum
Middle section: Active Projects
Add a heading: 📁 Active Projects
Create another Linked Database of your Projects database using the Board view.
Bottom section: This Week
Add a heading: 📅 This Week
Create a Linked Database of Tasks using the Calendar view.
Add a Quick-Capture Button
At the very top of your dashboard:
- Type
/button - Name it: “+ New Task”
- Set it to: Add page in → Tasks database
- Set default properties: Assignee = Me, Status = To Do, Due Date = Today
Now you have one-click task creation that pre-fills sensible defaults.
Step 6: The Daily Workflow
Your system is built. Here’s how to actually use it.
Morning Routine (5 minutes)
- Open your Dashboard
- Look at “My Tasks Today”—what must happen today?
- Open your Active Projects board—are any projects blocked?
- Identify your top 3 priorities for the day
During the Day
- When a new task appears: hit “New Task” button, link to a project
- When you finish a task: mark Status → Done (progress bar updates automatically)
- When a project completes: mark Status → Done (it disappears from the active board)
Weekly Review (15 minutes)
- Open Calendar view—are all tasks for next week scheduled?
- Open Projects board—are any projects stuck “In Progress” too long?
- Archive Done projects (move to a separate “Completed” folder)
- Create new tasks for next week’s projects
Reality Check: Is This System For You?
Before you spend 20 minutes building this, be honest with yourself.
This Works If:
- You manage multiple concurrent projects
- You work with a team or need task assignment
- You think in structured hierarchies (Projects → Tasks)
- You spend time at a desk, on a computer
This Doesn’t Work If:
- You need to capture thoughts quickly on mobile (too much friction)
- You primarily work solo with simple to-do lists
- You value privacy and offline access over collaboration
- You hate database thinking and just want a notepad
Warning: If the steps above already feel overwhelming, Notion might not be the right tool for your brain. That’s okay. The best system is the one you’ll actually use.
For simpler task management: read our Notion vs. Evernote Showdown to see if a less complex tool serves you better.
For thinking and research instead of managing: check our Obsidian vs. Notion Comparison to see which philosophy matches your actual needs.
Common Mistakes (And How to Avoid Them)
Mistake 1: Creating Too Many Databases
I’ve seen Notion workspaces with 15+ databases. Nobody maintains them. They become ghost towns.
Rule: If you can’t describe what belongs in a database in one sentence, merge it with another.
Mistake 2: Over-Engineering Properties
You don’t need 20 properties on your Tasks database. You need Status, Due Date, and Project. That’s 90% of what you’ll actually use.
Add properties only when you feel a genuine pain point. Not “just in case.”
Mistake 3: Manual Progress Updates
Never update a progress bar manually. If your system requires manual number entry to track progress, it’s already broken.
The formula we built updates automatically. Trust it.
Mistake 4: Ignoring the Weekly Review

A Notion dashboard is a living system. It needs a 15-minute weekly audit or it turns into a graveyard of outdated tasks.
Put the weekly review in your calendar. Non-negotiable.
The Free Template
Don’t want to build from scratch?
The template includes:
- Pre-built Projects database with all properties
- Pre-built Tasks database with all properties
- The Progress Bar formula already installed
- Four default views (My Tasks, Board, Calendar, Cards)
- The Quick-Capture button
- Sample data so you can see how it works
To use it:
- Click the template link
- Click “Duplicate” in the top right
- Delete the sample data
- Start adding your real projects and tasks
Pro Tip: Before populating the template with real data, spend 10 minutes organizing your current projects using the P.A.R.A. Method. It makes the initial setup dramatically cleaner.
What Comes Next
Once your dashboard is running smoothly:
Week 1-2: Just use it. Resist the urge to customize further.
Week 3-4: Notice what’s missing. Then add exactly that one thing.
Month 2: Consider adding a third database—either “People” (for contacts/clients) or “Resources” (for reference material).
Month 3+: You’ll know exactly what you need by now. Your system will feel personal and irreplaceable.
The goal isn’t a perfect system. The goal is a system that gets out of your way and helps you ship work.
That’s it. Go build.