I spent 40+ hours building the perfect Notion workspace, only to realize I was organizing my life instead of living it.
You know the feeling. You watch a YouTube tutorial on how to build a second brain in Notion, get inspired, open a blank workspace, and then… nothing. Blank page paralysis sets in. You fiddle with database properties for three hours, debate whether “Resources” should be nested under “Areas,” and eventually give up.
Here’s the truth: You don’t need to build it from scratch.
I’ve distilled everything I learned from those 40+ hours into a single, drag-and-drop dashboard. No relational property nightmares. No decision fatigue. Just a clean, functional system you can start using today.
Don’t build it. Steal it.
🚀 The 2026 Starter Kit
What’s Inside:
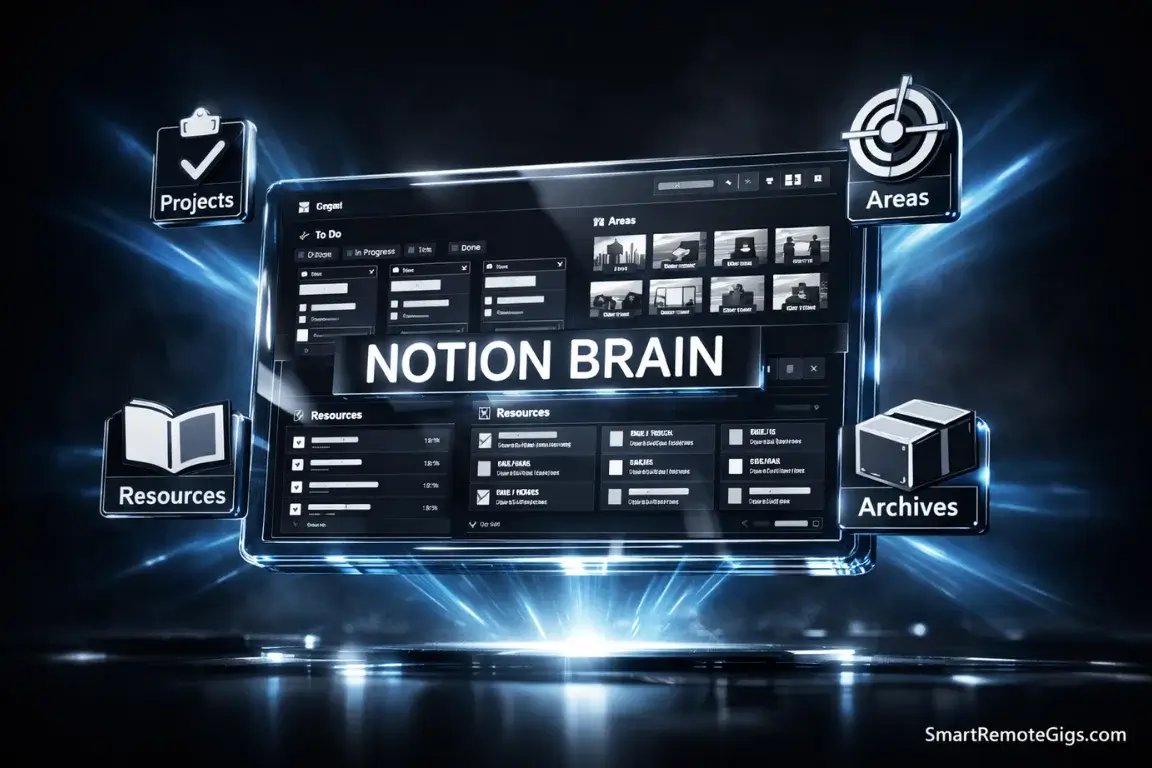
- Pre-built PARA Dashboard (Projects, Areas, Resources, Archive)
- Master Tag Database with smart filters
- “Quick Capture” Widget for mobile
- Weekly Review template
DOWNLOAD FREE TEMPLATE ← Get instant access
Why Notion is the “OS” of Productivity
Stop using five different apps.
Every time you switch from Todoist to Evernote to Google Drive, you’re paying the context-switching tax. Your brain has to reload the interface, remember where you saved that file, and rebuild momentum.
Notion kills that tax.
It’s not just a note-taking app. It’s a visual operating system where your tasks, notes, and files live in one interconnected workspace. You can link a meeting note to a project database, embed a Google Doc, and track progress—all without leaving the page.
Here’s what makes it different:
Feature | Notion | Evernote | Standard Notes |
|---|---|---|---|
Database Power | ✅ Relational databases, filters, rollups | ❌ Notebooks only | ❌ Tags only |
Visual Flexibility | ✅ Kanban, calendar, gallery, timeline | ⚠️ Limited views | ❌ Text-based only |
Collaboration | ✅ Real-time editing & comments | ⚠️ Basic sharing | ❌ Solo use |
Offline Access | ⚠️ Limited offline mode | ✅ Full offline | ✅ Full offline |
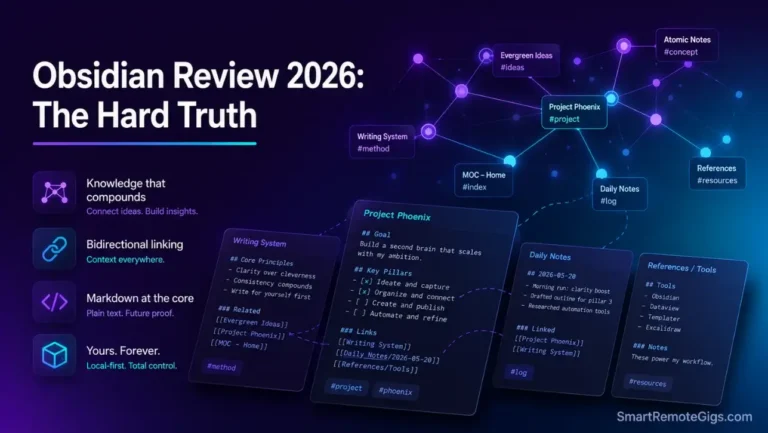
But here’s the debate: If you’re a markdown purist who wants local-first storage, Obsidian might be your weapon. It’s faster, more private, and lives entirely on your hard drive.
For everyone else? Notion wins on versatility.
The Anatomy of Your New Dashboard
Before you dive into the template, let’s decode the philosophy behind it.
Your Second Brain isn’t just a digital filing cabinet. It’s a thinking environment. The template I’m giving you is built on two frameworks: P.A.R.A. (for organization) and C.O.D.E. (for workflow).
Here’s how they work together.
The P.A.R.A. Engine
This is your filing system.
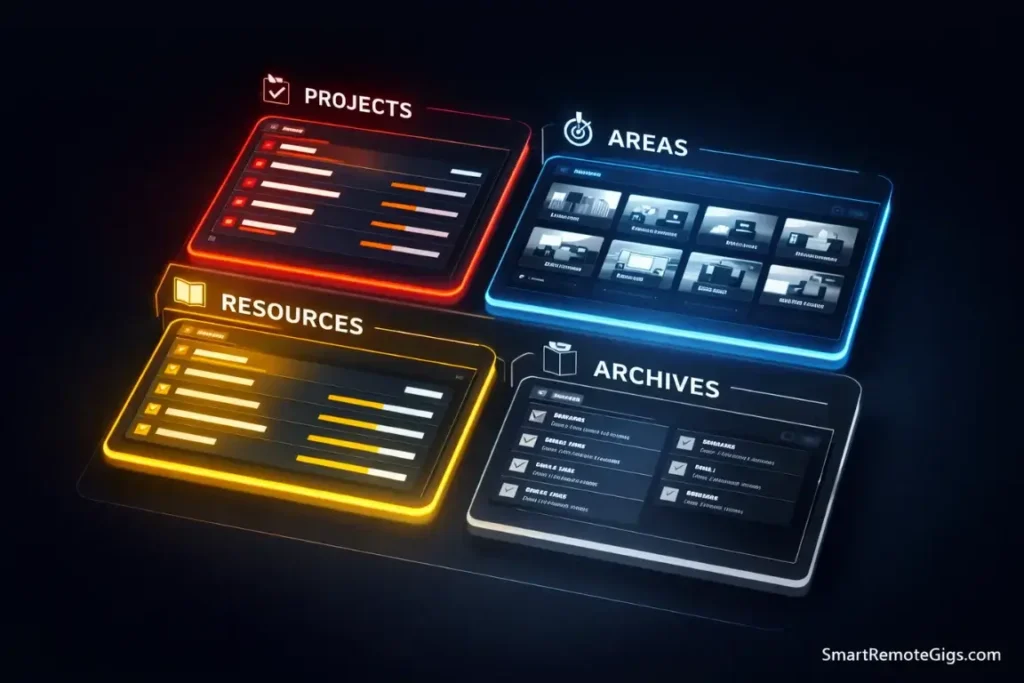
P.A.R.A. stands for Projects, Areas, Resources, and Archive. It’s designed to eliminate the “where do I put this?” question.
Here’s the breakdown:
- Projects = Short-term outcomes with a deadline (e.g., “Launch podcast,” “Plan wedding”)
- Areas = Long-term responsibilities with no end date (e.g., “Health,” “Finances”)
- Resources = Topics of interest (e.g., “Marketing strategies,” “Recipe ideas”)
- Archive = Inactive stuff you might need later
The confusion point: People treat Projects and Areas the same way. Don’t.
A Project has a finish line. An Area is a standard you maintain forever. If you’re struggling to categorize something, ask: “Will this ever be complete?” If yes, it’s a Project. If no, it’s an Area.
Need examples? I wrote a deep dive on the P.A.R.A. Method that clarifies the difference with real-world scenarios.
The C.O.D.E. Workflow
This is how information flows through your system.
C.O.D.E. stands for Capture, Organize, Distill, Express. It’s the pipeline that turns random thoughts into finished work.
- Capture = Dump everything into your Inbox (no filtering yet)
- Organize = Move items into the right P.A.R.A. category
- Distill = Highlight the key insights (bold the gold)
- Express = Use your notes to create something (article, presentation, decision)
Most people get stuck at Capture. They save 300 articles to “Read Later” and never touch them again.
The fix? Process your Inbox weekly. The template includes a Weekly Review checklist that forces you to triage everything you captured.
If you want to master the capture habit, check out our guide on Tiago Forte’s C.O.D.E. Method for a step-by-step walkthrough.
Step-by-Step: Configuring Your Notion Second Brain
You already have the template. But if you want to build it from scratch—or customize it to fit your workflow—here’s the architectural blueprint.
Step 1: The Master Database (The Brain)
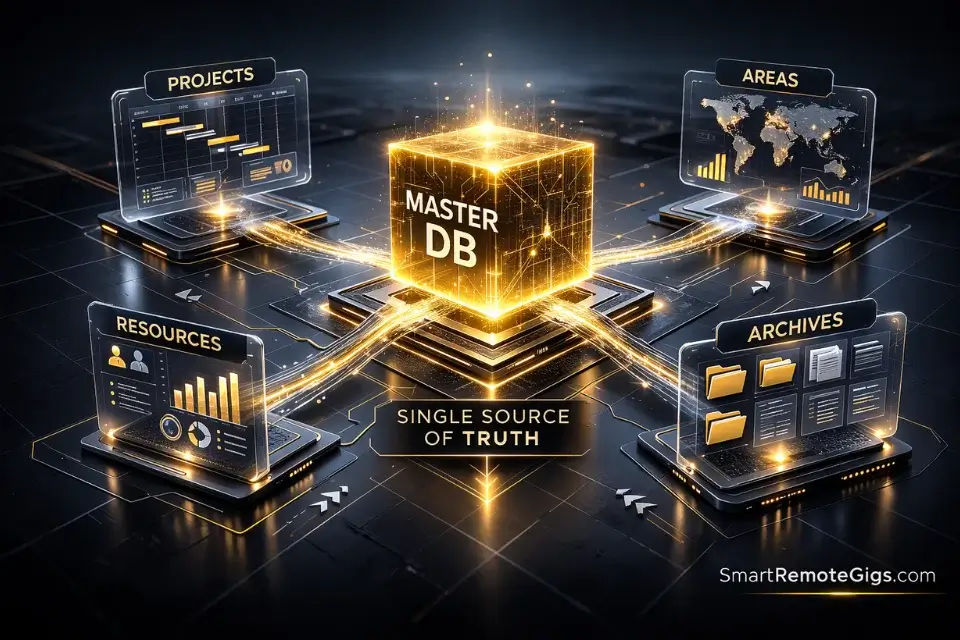
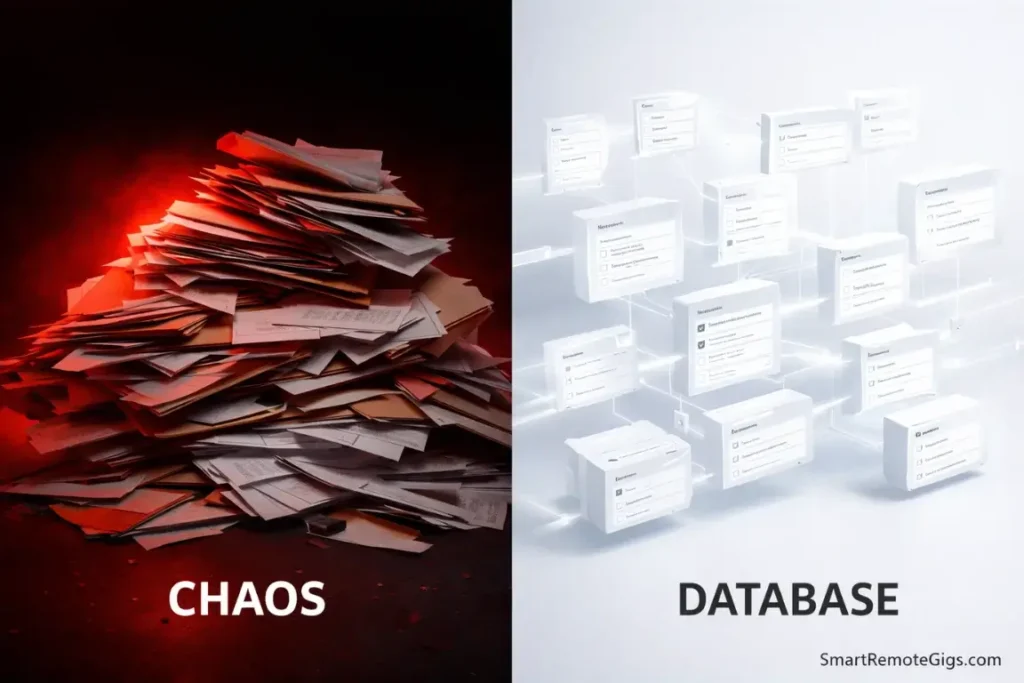
This is the most important design decision: Use ONE database for everything.
Don’t create separate databases for Projects, Resources, and Tasks. That creates relational chaos. Instead, build a single “Master Database” with a Type property that categorizes each entry.
Here’s how:
- Create a new database (Full Page)
- Add a Select property called “Type” with options: Project, Area, Resource, Archive, Task
- Add a Select property called “Status” with options: Inbox, Active, On Hold, Complete
Now every item lives in one place, but you can filter them into different views.
Pro Tip: Never create separate databases for Projects and Resources. Use ONE database with a ‘Type’ property to link them effortlessly. This avoids the relational property nightmare and keeps everything searchable from a single source.
Step 2: The “Action Dashboard” Views
The Master Database is your source of truth. But staring at 200 rows is overwhelming.
That’s where Views save you.
Create these filtered views on your Dashboard:
📥 Inbox View
- Filter:
Status = Inbox - Sort: Created time (newest first)
- Purpose: Everything you captured but haven’t processed yet
🔥 Active Projects View
- Filter:
Type = ProjectANDStatus = Active - Sort: Due date (soonest first)
- Purpose: Your current commitments
📌 Areas View
- Filter:
Type = Area - Display: Gallery view with cover images
- Purpose: Visual overview of your life domains
Each view shows a different slice of the same database. No duplication. No sync issues.
Step 3: The “Review” Logic
Your Second Brain dies without maintenance.
The template includes a Weekly Review page that walks you through the same checklist I use every Friday:
- Clear the Inbox (process everything into P.A.R.A.)
- Review Active Projects (what moved forward this week?)
- Check Areas (any domain needs attention?)
- Archive completed items
This 15-minute habit is what separates a living system from a digital graveyard.
Want to go deeper? The Weekly Review aligns perfectly with GTD Horizons of Focus—the framework for connecting daily tasks to life goals.
3 Workflows to Supercharge This System
The template gives you the foundation. These workflows turn it into a productivity weapon.
The “Quick Capture” Shortcut (Mobile)
You can’t build a Second Brain if capturing ideas takes 30 seconds.
Here’s the hack: Use Notion’s mobile widget.
On iOS:
- Add the Notion widget to your home screen
- Configure it to open directly to your Inbox
- Tap, type, done. One swipe, three taps, back to life.
On Android, use the “Quick Note” widget for the same effect.
The goal is to make capture faster than forgetting.
The “Project Kickoff” Template
Every new project starts with the same questions:
- What’s the goal?
- What’s the deadline?
- What are the key milestones?
Stop rewriting this every time.
Create a Template Button in your Projects database that auto-generates a project brief with pre-filled sections:
🎯 Objective:
📅 Deadline:
✅ Success Criteria:
📋 Next Actions:
One click, instant structure.
The “Read Later” Clipper
You find a great article. You want to save it. What do you do?
Use the Notion Web Clipper. It’s a browser extension that saves any webpage directly to your Notion workspace.
Pro move: Set the default destination to your Resources database with a “To Read” tag. Then filter your Weekly Review to process everything you clipped.
Common Pitfalls (Why Notion Systems Fail)
I’ve seen hundreds of Second Brain setups collapse. Here are the two killers.
Red Flag: The Decorator’s Trap
Spending hours finding the perfect icons instead of doing the work. I get it—pretty dashboards are satisfying. But aesthetics are a procrastination drug.
The rule: Stick to the template for 30 days before changing the aesthetics. Function first, beauty later.
Warning: Over-Tagging
If you have more than 15 tags to start, you will stop tagging. I learned this the hard way after creating 47 granular tags like “Health → Nutrition → Breakfast Recipes.”
The fix: Keep it broad. Start with 5-7 tags (e.g., Work, Personal, Learning, Health). You can always refine later.
The best system is the one you actually use. Simplicity scales. Complexity dies.
Frequently Asked Questions
Can I use this Second Brain template on the free Notion plan?
Yes. The Personal plan (free) includes unlimited blocks, unlimited pages, and all the database features you need. The only limitation is file upload size (5MB per file on free vs. unlimited on paid).
For a Second Brain focused on text notes and light media, the free plan is plenty.
How does this compare to the paid “Second Brain” templates?
Most paid templates are bloated.
They include 15 databases, 30 views, and features you’ll never touch. The creator wanted to justify the $49 price tag, so they crammed in everything.
Ours is an MVP version—lighter, faster, and less intimidating. You get the core P.A.R.A. structure and workflows without the cognitive overhead.
If you outgrow it, upgrade to a paid template. But start here.
Is Notion secure enough for a Second Brain?
It depends on your threat model.
Notion uses AES-256 encryption in transit and at rest, which is the industry standard. Your data is stored on AWS servers, and Notion employees technically have access (though they claim strict privacy policies).
If you’re storing state secrets or medical records, use a local-first app like Obsidian or Logseq.
For 99% of users—meeting notes, project plans, article drafts—Notion is secure enough.
The Verdict & CTA
Notion is the best visual Second Brain.
It’s not just storage. It’s a workspace where your notes, tasks, and ideas collide to produce finished work. The databases are powerful. The views are flexible. The mobile app is solid.
But here’s the reality: The tool doesn’t matter if you don’t use it.
So scroll back up, grab the template, and import your first project today. Don’t tweak the layout. Don’t redesign the icons. Just use it for 30 days.
Your Second Brain is waiting. (Want to master the philosophy behind this template? Read our full guide on How to Build a Second Brain).
Verdict: Notion isn’t perfect—it’s slower than plain text and less private than local apps—but it’s the best balance of power and usability for visual thinkers who need their entire life in one place.